
Maintenance
Factory reset per device, snow melt, Router 3 versus older routers, and the bonding delay after unboxing.
Overview
Factory reset is the escape hatch for a forgotten password, a router stuck in bypass mode, or a setup that will not complete. It clears the WiFi network name, the password and every other setting.
Factory reset
From the app, if you can
- Connect to your Starlink WiFi and open the app.
- Tap Settings → Router → Factory Reset.
- Drag the slider.
Two cases where this does not work, and you fall back to the hardware button:
- The router is in bypass mode. The app cannot reset it.
- The router is not associated with your account or not online. The app shows the manual instructions instead.
After any reset the default network reappears as STARLINK in your device’s
WiFi list, unprotected. Set a name and password again in Settings → Router.
Router 3
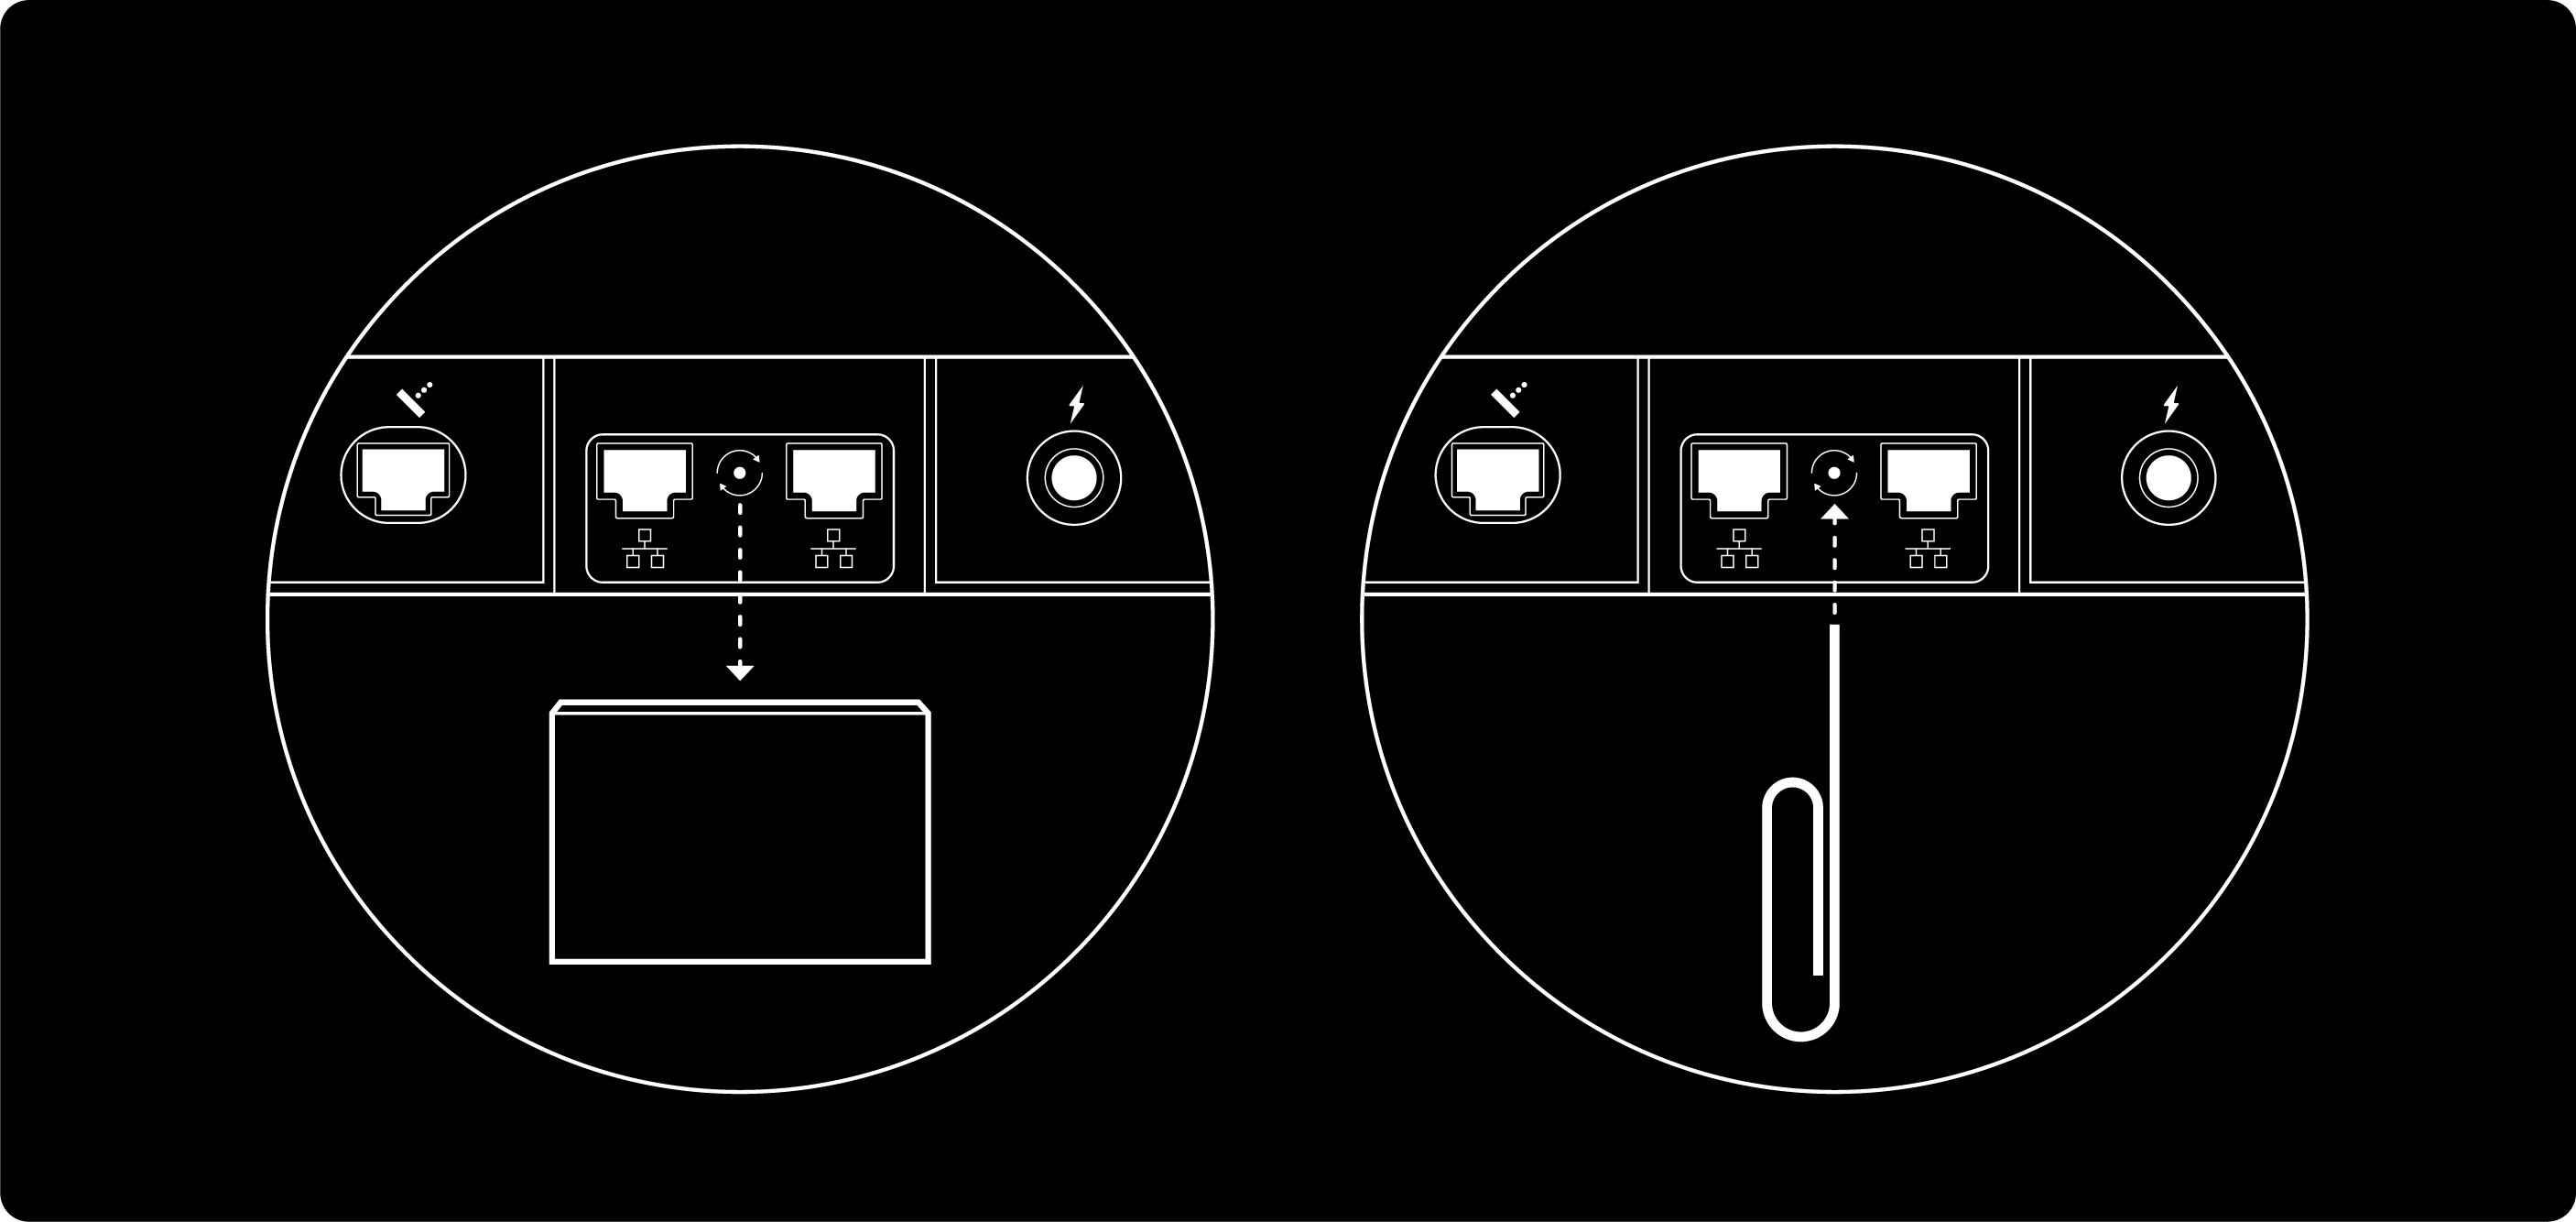
- The reset button is under the LAN port cap on the back, next to a reset icon.
- Push it briefly with a paperclip. The front light blinks fast for a few seconds.
- Connect to
STARLINKfrom your device’s WiFi list. - Set your network name and password in Starlink app → Settings → Router.
Router Mini
- The reset button is on the back, next to a reset icon.
- Push it briefly with a paperclip. The front light blinks fast for a few seconds.
- Wait a few minutes for the reboot. A slow white blink means it has finished.
Starlink Mini
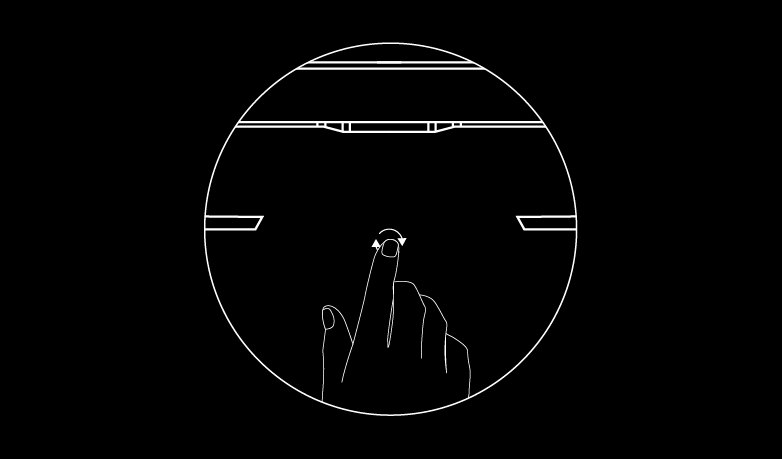
- The reset icon is on the back of the dish.
- Press firmly until you hear a click, and hold for 3 seconds.
- The LED blinks fast and then goes out.
Mesh nodes reset separately. If you have mesh nodes, factory reset them after the primary router, and pair them again from the primary router’s network.
Snow melt
The dish heats itself to melt snow, using the power it already draws. This cuts service interruptions during snowfall and saves you climbing on a roof with a broom.
- Open the Starlink app.
- Go to Settings → Starlink → Snow Melt.
- Pick a mode.
| Mode | Behaviour |
|---|---|
| Off | Disabled. No extra power |
| Automatic | Detects snowy conditions and heats only when needed. Recommended |
| Pre-heat | Keeps the dish warm to resist buildup. Uses more power |
Router 3 compared with older routers
The Router 3 improves on the Gen 2 with a WiFi 6 chipset, which helps most in congested environments, and tri-band radios for better mesh performance. If your speeds are limited by WiFi rather than by the satellite link, it is a real upgrade. Test first: see App tools.
| Router 3 | Gen 2 | Gen 1 | |
|---|---|---|---|
| Standards | 802.11a/b/g/n/ac/ax | 802.11a/b/g/n/ac | 802.11a/b/g/n/ac |
| Bands | Tri-band 2.4 and 5 GHz | Dual band 2.4 and 5 GHz | Dual band 2.4 and 5 GHz |
| Radio | 4x4 MU-MIMO, OFDMA | 3x3 MIMO | 2x2 MU-MIMO |
| Security | WPA2 | WPA2 | WPA2 |
| Ethernet | 2 LAN ports | None built in | 1 LAN, 1 WAN |
| Ingress rating | IP56 | IP54 | Not rated |
| Operating temperature | -30 °C to +50 °C | -30 °C to +50 °C | -30 °C to +50 °C |
Both the Router 3 and Gen 2 are IP56 and IP54 water resistant respectively, and both are configured for indoor use.
One compatibility limit worth knowing. A Router 3 can extend any Starlink system as a mesh node, and it can replace a Gen 2 mesh node or extender. It cannot replace the main Gen 2 router attached to a dish, because that router also supplies power to the dish.
Troubleshooting
“This router doesn’t appear to be associated with your Starlink.” The router and the dish bond after unboxing, and the time it takes varies. Work through this before assuming a fault:
- Confirm both the Starlink and your phone have a stable connection, and that you are signed in to the correct account.
- Wait about 30 minutes for the connection to settle and the bonding to complete.
- Still not bonded after 30 minutes? Reboot the router manually to force another attempt, and give it up to an hour.
If an hour passes with no internet connection and no access to router settings, contact Starlink support.
I forgot the WiFi password. It is never displayed after it is set. Factory reset is the only route.