Standard 4 X setup
Unbox, cable, align and connect the rectangular Standard 4 X dish with Router 3.
Overview
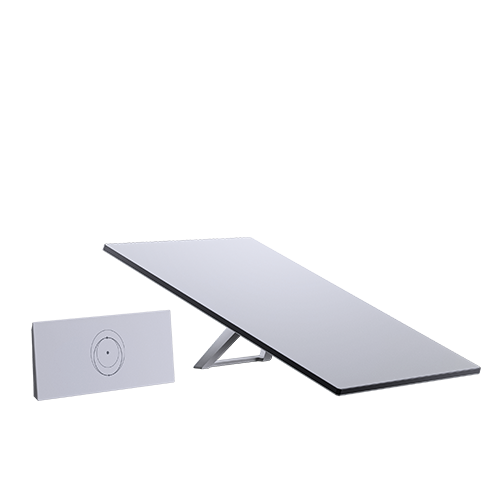
The Standard 4 X is the rectangular dish with a kickstand and no motor. It ships with the Router 3. The Standard 4 is the same dish with a Router Mini in the box instead; the cabling step differs slightly and is called out below.
Before you start
What is in the box:
- Standard Starlink dish
- Kickstand
- Router 3
- Router 3 Starlink cable, 15 m (49.2 ft)
- AC power cable, 1.5 m (4.92 ft)
- Power supply unit
Steps
1. Connect the cables
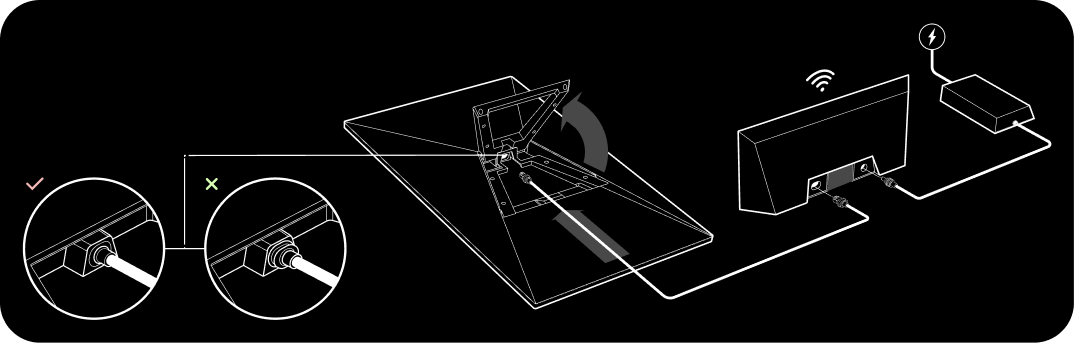
Lift the kickstand and push one end of the Starlink cable into the dish, with the locking tab facing up. It should sit flush.
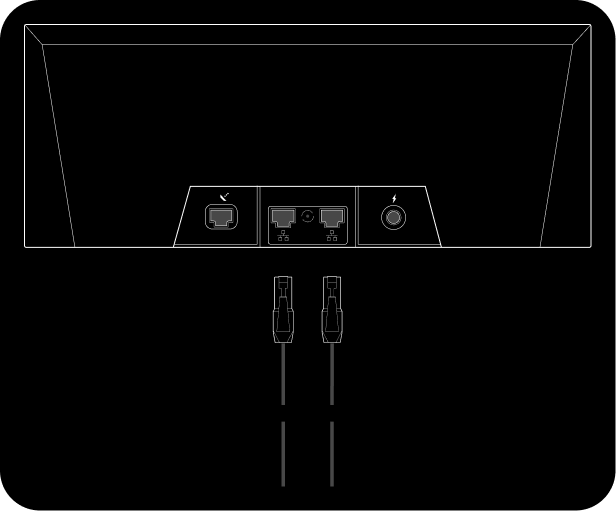
Route the other end to the router and plug it into port 1, marked with the Starlink symbol on the back, with the locking tab facing down.
Plug the power cable into the power supply, and the power supply into the router.
2. Find a clear view of the sky
The dish tracks satellites as they cross overhead. A branch, a pole or a roofline in the way causes interruptions, not a permanent outage, which makes them easy to miss and annoying to live with.
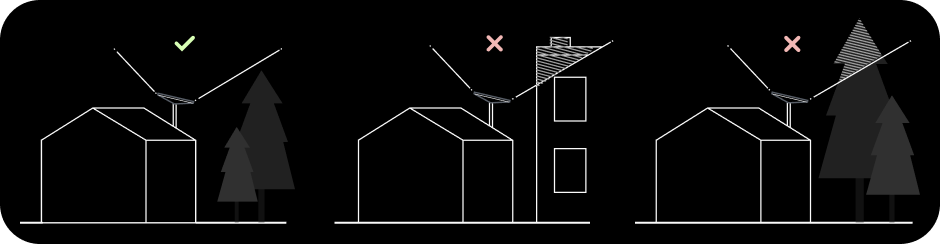
Open the Starlink app and run Check for Obstructions. Tilt the dish with the kickstand for the best result.
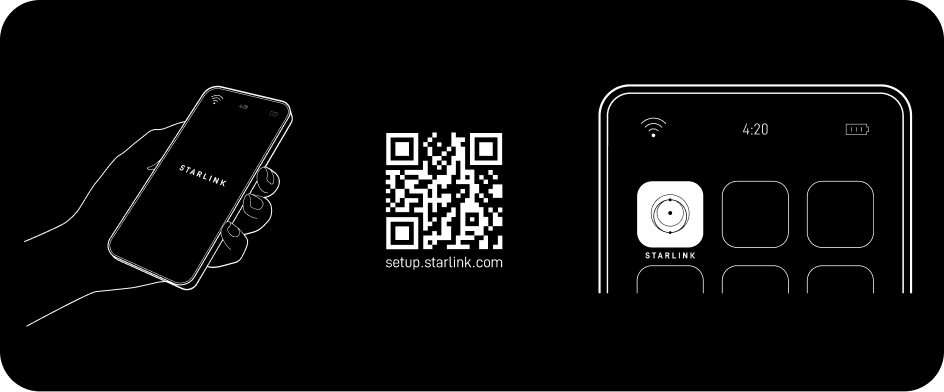
If nothing at ground level is clear, go up. A roof, a pole or a wall mount will usually solve it. See Mounts.
3. Align the dish
The dish has no motor, so you aim it. With the kit tilted on its kickstand, open the app. If alignment is off, the app raises an alert; tap it and rotate the dish to match the picture on screen.
Within 5° the app says nothing, which means you are aligned.
4. Get connected
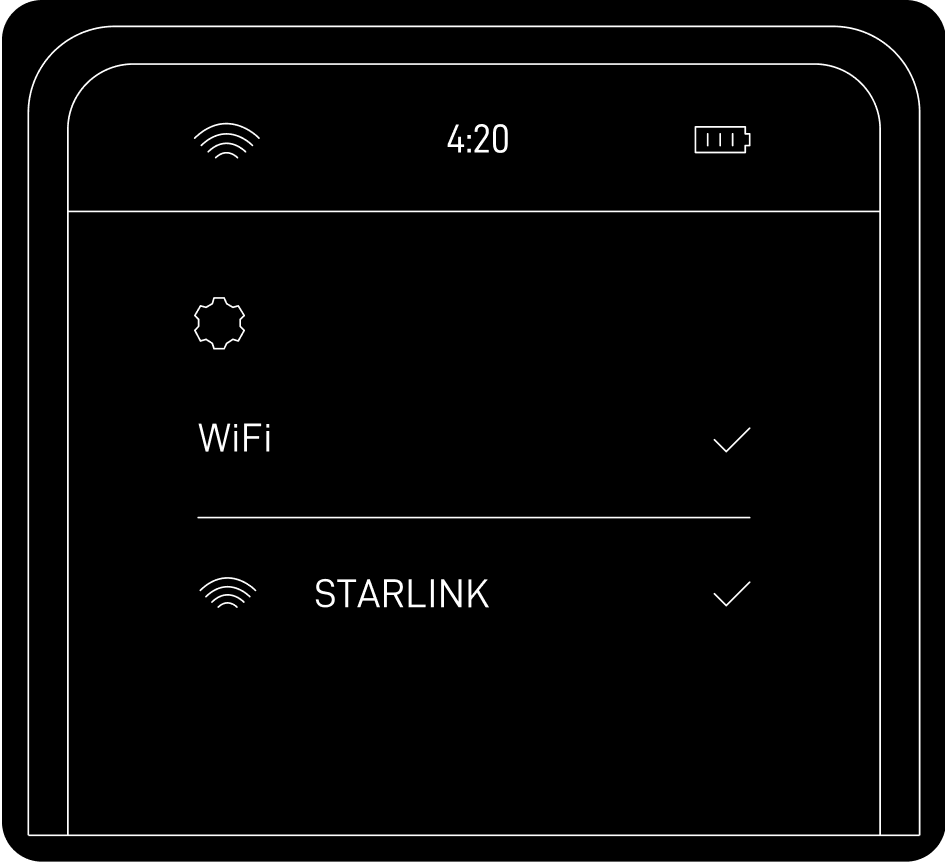
Join the STARLINK network from your device’s WiFi settings. That is the
default network name.
Then set your own name and password: Starlink app → Settings → Router, enter a network name and password, and save. This is optional and you should do it anyway, because until you set one the network has no password at all.
Reference
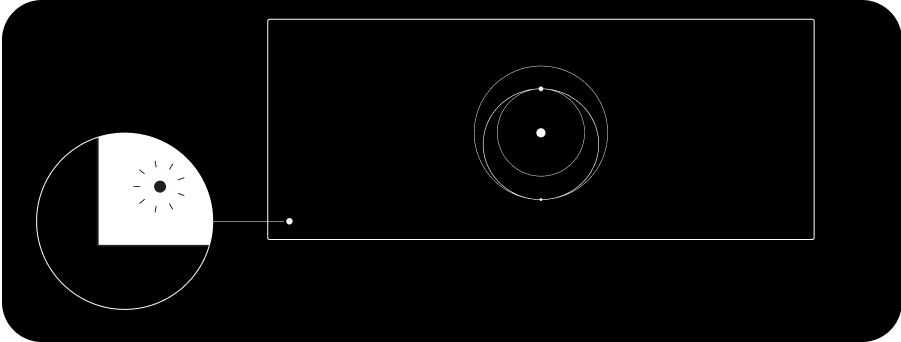
The light on the Router 3 tells you where setup got to.
| Light | What it means |
|---|---|
| Flashing white | Trying to connect. Goes solid white on success, red if it fails after 20 minutes |
| Solid white | Connected. Turns off after an hour |
| No light | No power, or a healthy router more than an hour after connecting |
| Red | Not connected to the internet |
| Violet | Bypass mode. A factory reset is the only way out |
Using the extra RJ45 ports
Pull off the RJ45 cover on the back of the router and plug your own ethernet cable into port 1 or port 2, then run it to your own hardware.