Router Mini
Place it, power it, mesh it wired or wireless, and mount it on a wall.
Overview
The Router Mini is a small, low-power WiFi router built to pair with the Starlink Mini. It ships as the main router in the Standard 4 kit and as the mesh node in the Mini X Kit.

Before you start
Compatibility. Works with the Starlink Mini, the Router 3 and the Gen 2 router. It does not work with the Gen 1 router.
Cable choice matters on the Mini. To keep the dish’s waterproof rating, connect to a Starlink Mini with the Mini Starlink Ethernet Cable from the Starlink shop rather than a generic one.
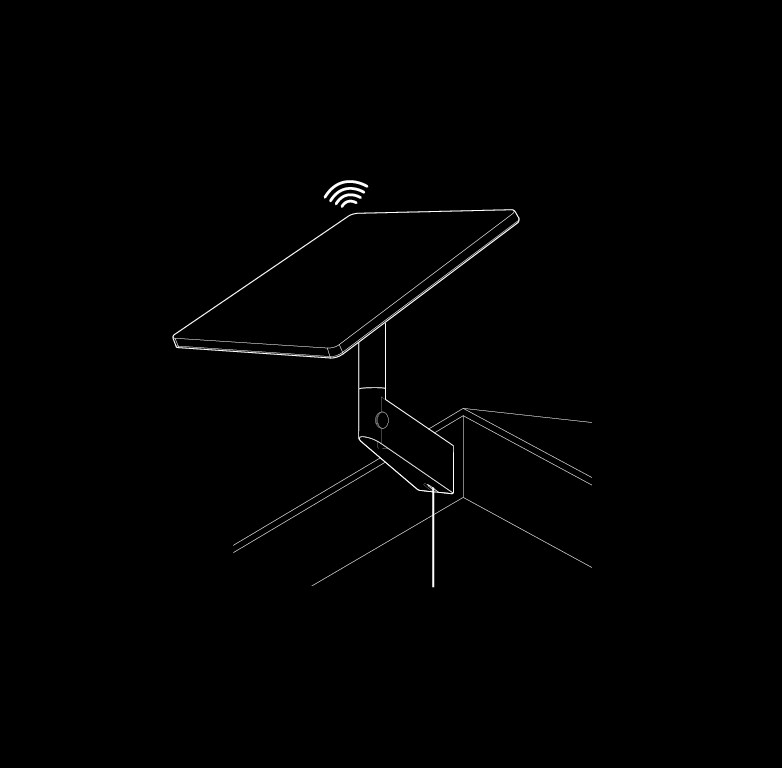
Set the dish up first. Get Starlink online and connect your phone to its WiFi before you touch the router.
Steps
1. Position the routers
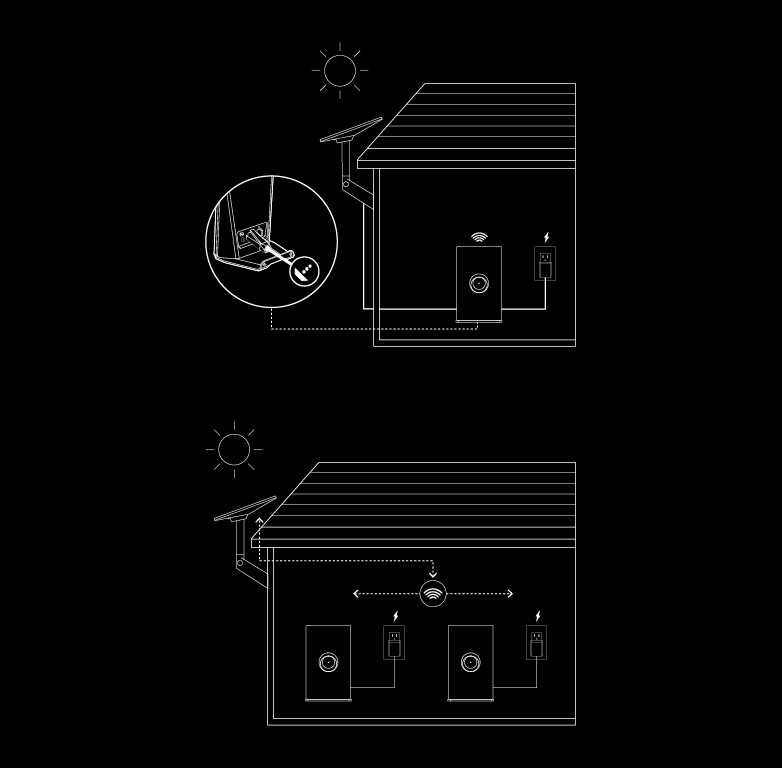
- A wired connection to the main router or the Starlink Mini gives the best performance.
- Keep nodes within two rooms of each other.
- Avoid stacking obstructions between them, particularly concrete walls and metal appliances.
- Get the router off the floor. A shelf is enough.
2. Choose an install method
Table stand or wall mount. Wall mounting is covered below.
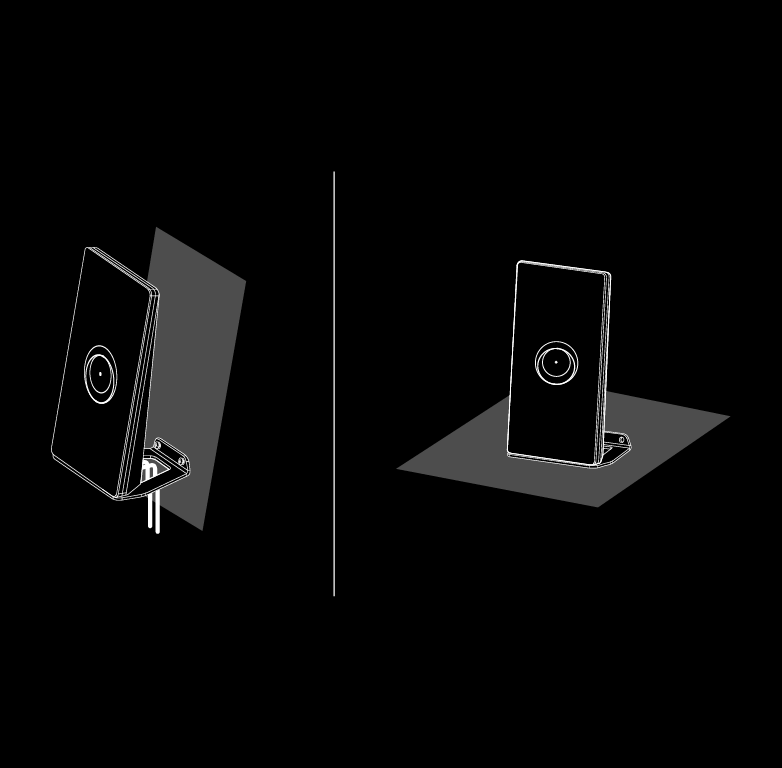
3. Power it on
Plug the power cable into the back of the router and the supply into an outlet. The LED comes on to confirm power.
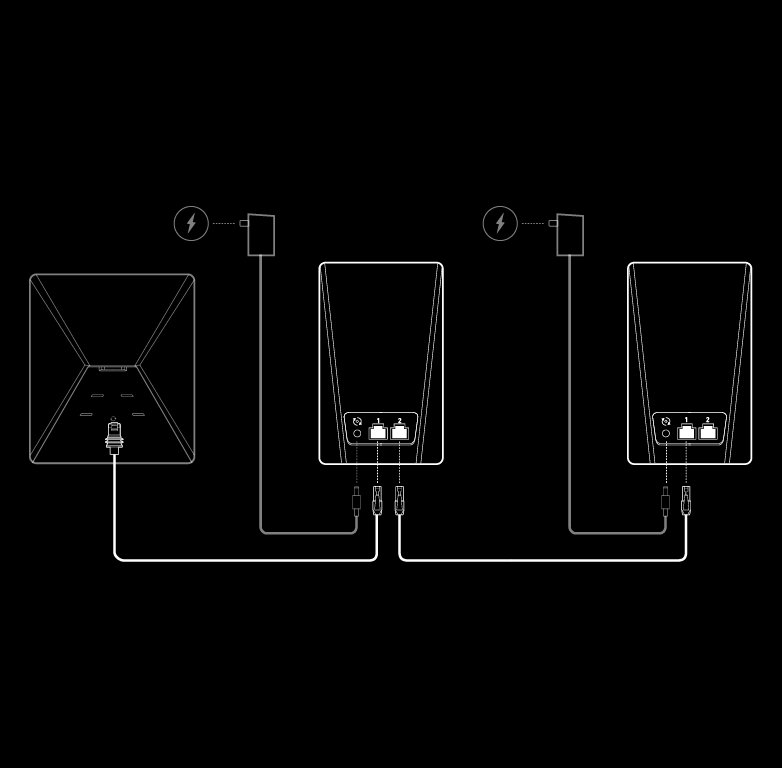
Wired mesh
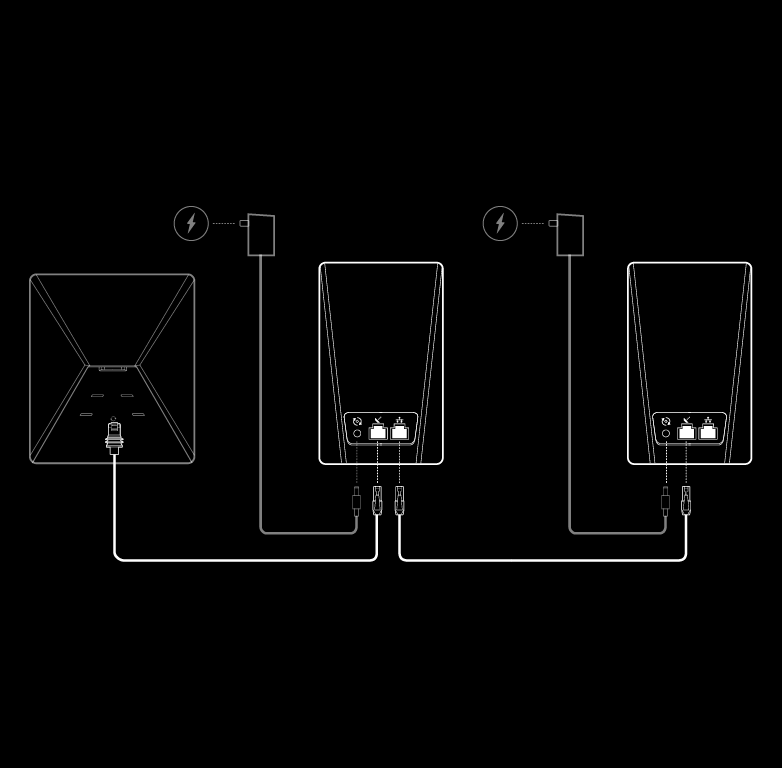
- Set up the Starlink kit and confirm you are online.
- Place the Router Mini and connect its power supply.
- Plug an ethernet cable into the LAN port on the back of your existing Starlink router or Starlink Mini. On a Router 3 you have to remove the protective cover to reach the ports.
- Run that cable to the WAN port on the Router Mini, the one marked with the Starlink symbol.
- Repeat for further nodes.
Use the 15 m Mini Starlink Ethernet Cable when the other end is a Starlink Mini. Between routers, Cat5e or better.
Wireless mesh
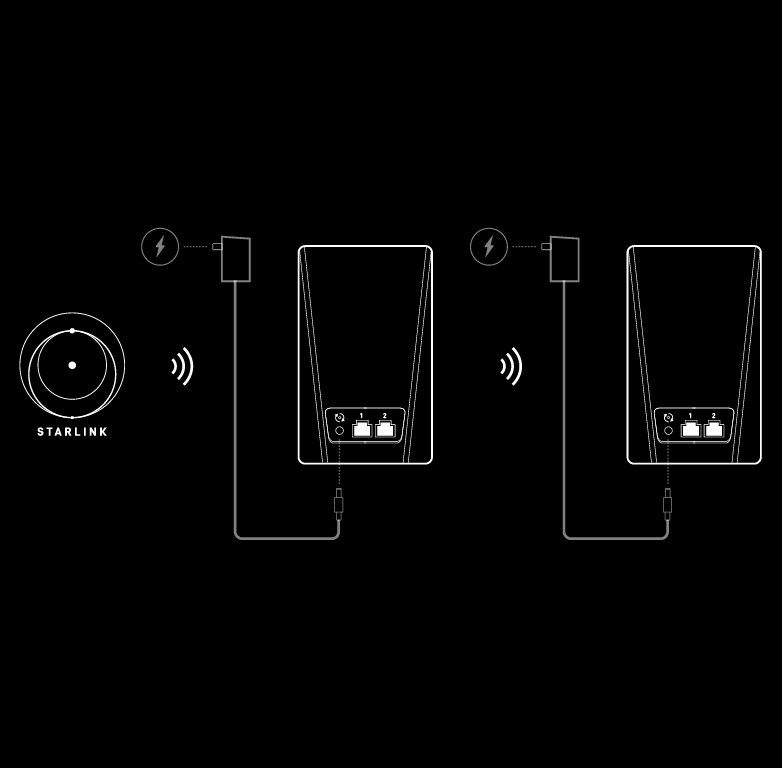
- Confirm the Starlink kit is set up and online first.
- Place the nodes and plug them into power.
- Open the Starlink app.
- Wait one to two minutes for a New Mesh Node(s) notification.
- Tap Pair, or Pair All. The nodes connect on the Network screen, which takes one to five minutes.
- Repeat for further nodes.
Wall mounting
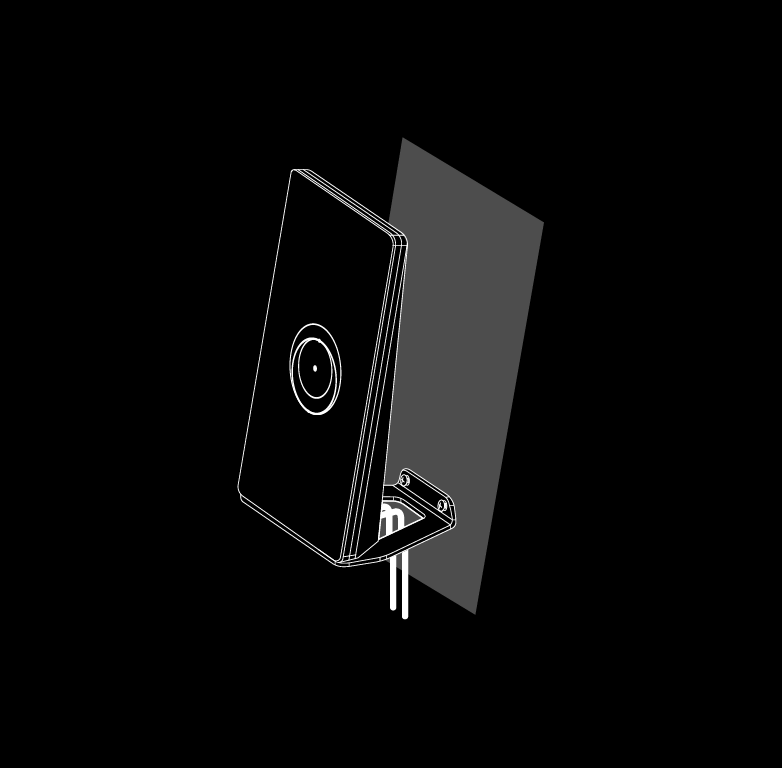
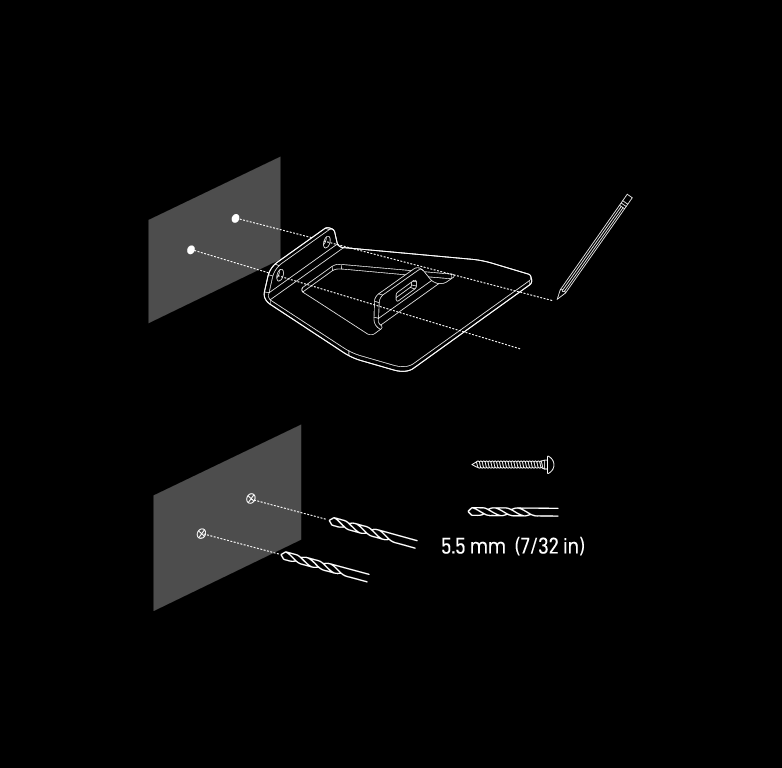
1. Mark and drill
Use the mount as a template to mark the holes, then drill with a 5.5 mm (7/32 in) bit.
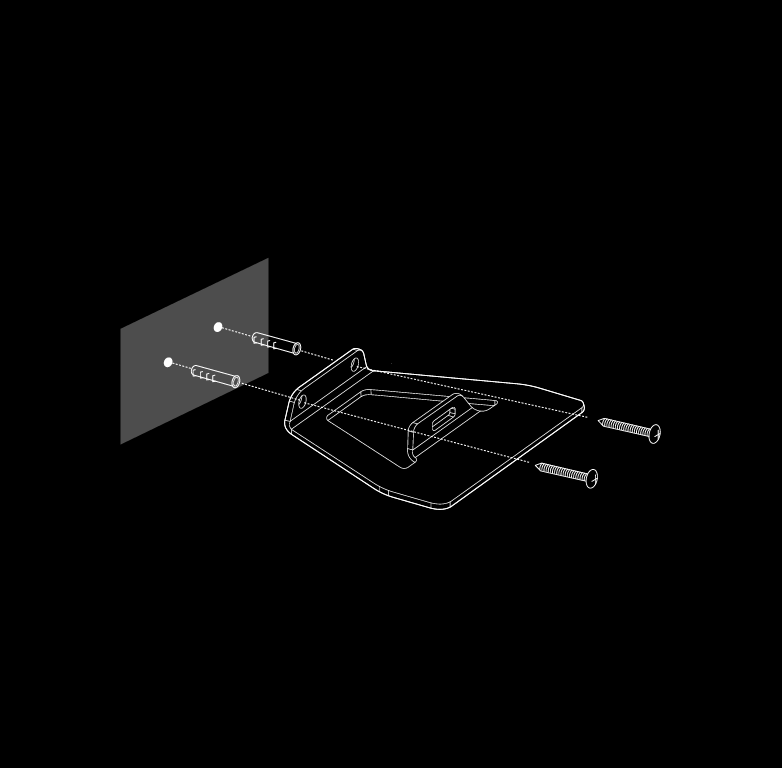
2. Screw the mount to the surface
Fit the drywall anchors, then secure the mount with the provided screws.
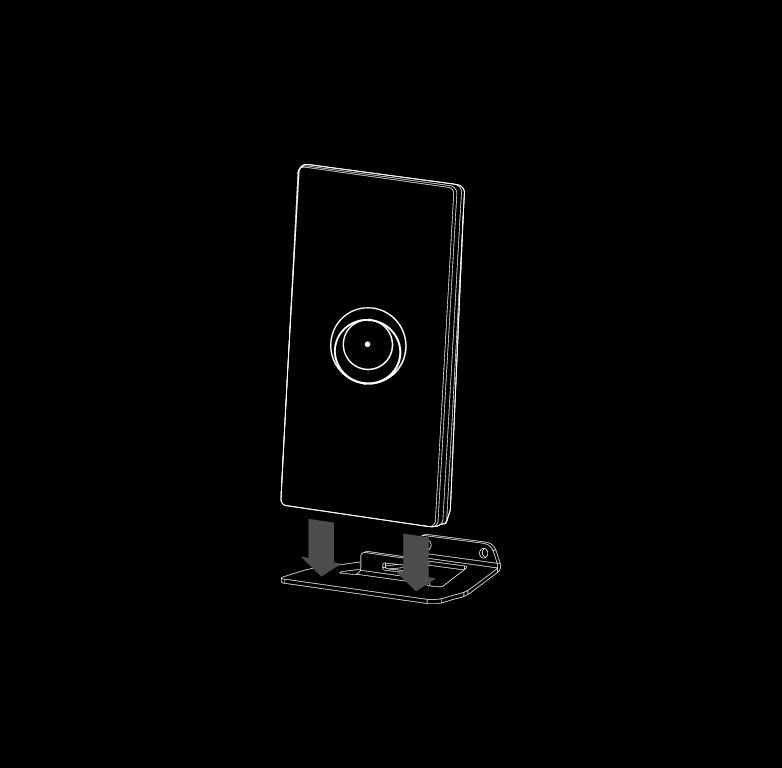
3. Snap the router in
Push the router into the mounted stand until it sits flush.