
Router 3
Specifications, the status light, the RJ45 ports, and meshing a Router 3 into an existing network.
Overview
The Router 3 is the router that ships with the Standard 4 X. It works as the main router for the Standard 4, Standard 4 X and Starlink Mini, and it can also join an existing network as a mesh node.
Reference
| Standards | IEEE 802.11a/b/g/n/ac/ax |
| Bands | Tri-band, 2.4 GHz and 5 GHz |
| Radio | 4x4, MU-MIMO, OFDMA |
| Security | WPA2 |
| Operating temperature | -30 °C to +50 °C (-22 °F to +122 °F) |
| Ingress rating | IP56, water resistant |
Status light
| Light | What it means |
|---|---|
| Flashing white | Trying to connect. Goes red if it fails after 20 minutes |
| Solid white | Connected. Turns off after an hour |
| No light | No power |
| Red | Not connected to the internet |
| Violet | Bypass mode. Turns off after an hour. Factory reset required to exit |
Steps
Get connected
- Join the
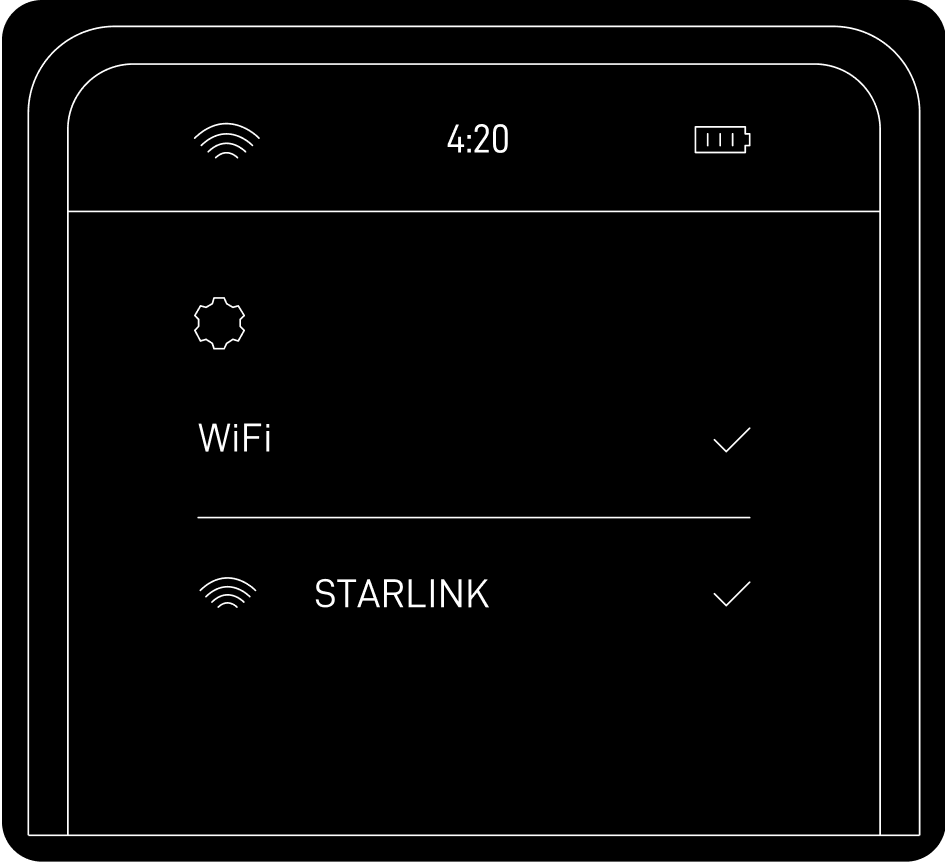
STARLINKnetwork from your device’s WiFi settings. That is the default network name. - Set your own network name and password in Starlink app → Settings → Router, then save. The network has no password until you set one.
- Use the app for everything else: connection checks, further settings, alerts.
Use the extra RJ45 ports
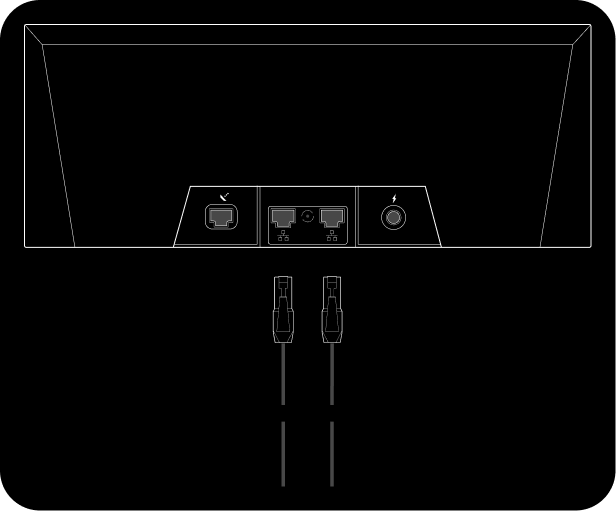
- Remove the RJ45 cover on the back of the router.
- Plug your own ethernet cable into port 1 or port 2.
- Run the other end to your own hardware.
Add a Router 3 as a mesh node
- Make sure the Starlink system is already online, and connect your phone to the existing Starlink WiFi.
- Put the Router 3 in the same room as the existing router for pairing. For permanent placement, pick a spot with clear line of sight between them.
- Plug the Router 3 into power with the included cable and supply.
- Open the Starlink app. Within one to two minutes you get a PAIR NEW MESH NODE notification. Tap PAIR.
- The Router 3 shows up on the Network screen within a minute or two, and its light goes solid white.
Reference: cables and power
Cables. A standard RJ45 cable works, but the Starlink RJ45 cable is what seals properly. To remove a Starlink RJ45 cable, pull firmly; the latch is passive and there is nothing to press. If you used a standard RJ45 cable and it will not come out, press the tab gently with a small screwdriver.
Mounting. A Router 3 mount is sold in the Starlink shop.
Power over ethernet. With the Advanced Power Supply, the Router 3 draws power over the included ethernet cable through the WAN port.