
Plugins
See which plugins you can add, install NASNET Monitor on the router, and follow the install stages.
Overview
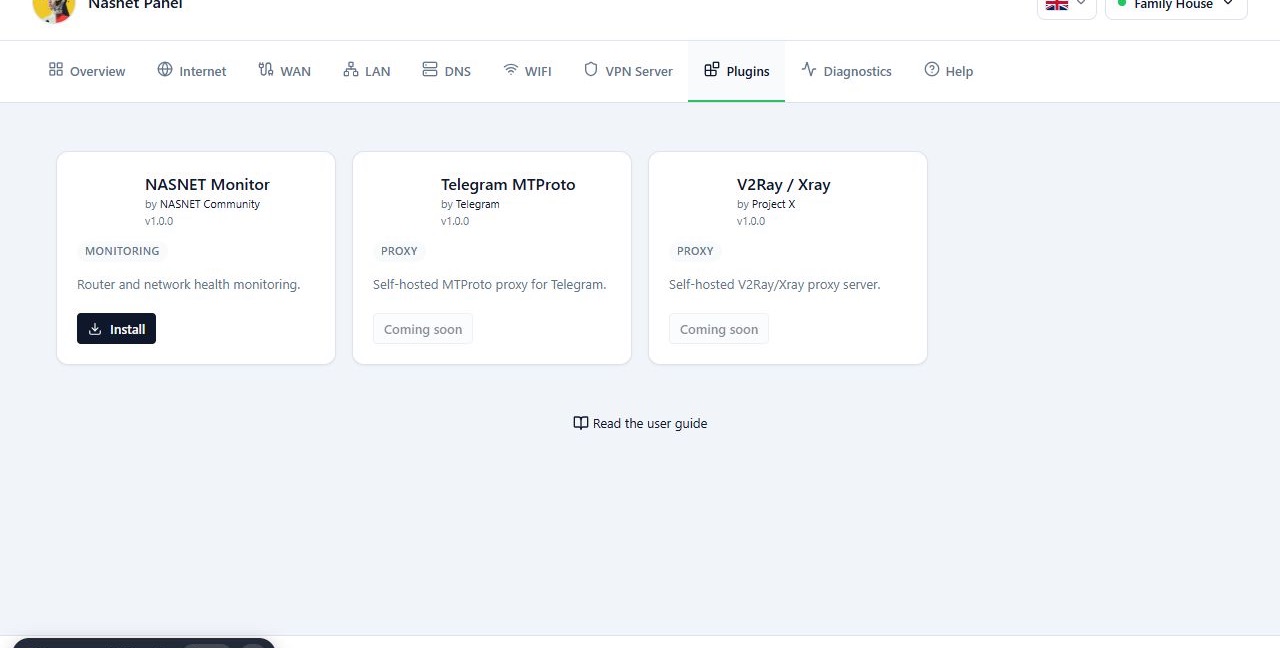
The Plugins tab lists the add-ons you can install on the router. Each plugin has a card with its name, author, version, description and status. Installing one creates a container on the router, and while it installs the card shows the current stage with a progress bar.
In the version reviewed:
- NASNET Monitor watches the router, the network and the Starlink dish, and can be installed.
- Telegram MTProto shows Coming soon.
- V2Ray / Xray shows Coming soon.
Coming soon means the plugin is not ready to install from this page yet.
Before you start
- The router is connected to the internet.
- The router has enough free storage. Plugins run as containers, so they need the same container support and free space the panel itself needs.
- Installing a plugin can take a while and use more of the router’s resources.
Steps
- Open the Plugins tab.
- Before installing, check the plugin’s name, description, version and status.
- Click Install on the plugin’s card.
- Wait for the download and install to finish and the card to reach running.
- When a sign-in option or shortcut appears, open the plugin’s interface.
To remove an installed plugin, click Uninstall and confirm. Uninstalling deletes the plugin’s container and its resources from the router. Each plugin has its own guide for day-to-day use.
Reference
Status
| Status | Meaning |
|---|---|
| installing | An install is in progress. |
| running | Installed and its container is running. |
| installed | Installed but not running right now. |
| failed | The install did not finish. The card says why. |
| Coming soon | Not ready to install yet. |
Install stages
| Stage | Label shown |
|---|---|
| 1 | Preparing |
| 2 | Creating interface |
| 3 | Creating mounts |
| 4 | Running pre-install script |
| 5 | Creating container |
| 6 | Pulling image |
| 7 | Starting container |
| 8 | Running post-install script |
Troubleshooting
Failed to load plugins. The panel could not reach the plugin list. Click
Retry.
No plugins available. The plugin list answered, but it was empty.
The install stopped with an error. Note the error text and check the router’s free storage and internet connection. Fix the cause and install again. If it still fails, run a Diagnostics report and send it to support with the error text.